Recurse Center Chronicles
I’m attending the Recurse Center as part of the Winter 1, 20’ batch starting November 9, 2020, for six weeks. This blog post is a work journal of my projects at RC.
The Plan
I have planned to work on 3 different projects at RC, and the estimate time involvement increases progressively.
The first project is building a ray tracer following the much-recommended Ray Tracing in One Weekend. The estimated time I want to spend on this project is a week, hopefully I’ll get through Ray Tracing in One Weekend and Ray Tracing the Next Week. I picked this project because I know nothing about computer graphics and I’m not too familiar with C++, and this project will help me learn both.
The second project is building an interpreter. When I applied to RC, I had plans to use LLVM Tutorial as a guide, but I have since found Crafting Interpreters and decided to use it instead. I estimate 3 weeks to spend on this project. I picked this project because I want to learn about compilers.
The third project is a stretch goal – realistically I won’t finish it when my 6 weeks at RC ends – but it’s the infamous Nand2Tetris! There are 12 distinct sub-projects, I’ll see how far I can get. I picked this project because I want to expand on my very limited knowledge on computer hardware.
I will also carve out some time every day to prepare for job interviews, since one of my objectives of attending RC is to change jobs.
Day -11, October 29, 2020
I have decided to start my first project before my official start date at RC.
Graphics Hello World
Today I set up Eclipse C/C++ on my computer, and made the graphics “hello world” image. I’m unsatisfied with the lack of blue gradient in the example, so I decided to make red increase intensity from left to right, green from top to bottom, and blue from top left to bottom right. This is what I get:
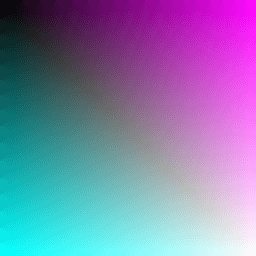
Cyan and Magenta are nice, but it would probably look better if I reversed the direction in which blue increased intensity:
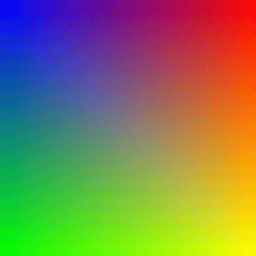
I stopped after the section on adding a progress indicator. I also noticed that this image doesn’t capture all possible RGB combinations – there are 256 * 256 * 256 = 16777216 possibilities, but in an 256 * 256 matrix we’re only representing a fraction of it. How do I represent all 16777216 possibilities in 2D?
Day 0, November 9, 2020
I officially started at RC today! I fixed the broken images in this post by pair programming with someone. Also attended a few events and chatted with some people. I’m in awe with the inquisitive and friendly culture RC has cultivated.
Day 1, November 10, 2020
I’m already feeling the tension between “sticking to my plans to do my projects” and “checking out all the cool stuff other people are working on.” Three different people have suggested that I check out Rust upon learning that I’m doing ray tracing in C++. I guess I’ll have to learn to write some Rust sooner or later.
Vector Utility Functions
I made more progress with ray tracer, though not as much progress as I thought. Made it towards the end of color utility functions, and now I have the same image generated as last time, using the new vector classes:
Relearning C++
I took a course in C++ many years ago, but have largely forgotten the language-specific knowledge. My C++ is rusty at this point – I don’t remember the difference between a pointer and a reference, and I needed to look up what an inline function is.
I’ve been following the advice in the tutorial to type out the code myself, and this has lead to some bugs introduced by error and some debugging. I’m slowly getting accustomed to reading C++ error messages.
A hiccup was that I accidentally selected a dark color scheme in Eclipse that effectively hid some error messages in the console because both the text and the background were in dark. I was baffled about why I ran into a compilation error when I was just typing in the same code from the tutorial, until I took the diff between by code and the tutorial code and discovered that I had typed a dot in place of a comma. Upon learning that the location of the error was actually highlighted in the console error output – except I couldn’t see it because it was dark text on dark background – I promptly changed my color scheme to light.
In the overview of this tutorial, it said “You should be able to do this in a weekend. If you take longer, don’t worry about it.” I highly doubt I would take the equivalent of a weekend to finish this project. At each step, there’s an option to take a detour to dig deeper into what’s going on: making a different image, research C++ trivia, etc. Again, there’s tension between being on schedule and maximizing learning.
Day 9, November 18, 2020
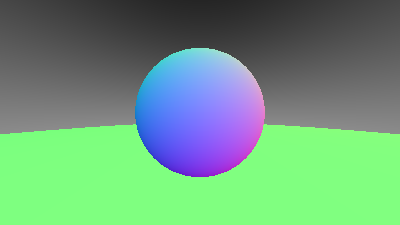
I’ve spent the past week largely on the foundations of the ray tracing project: relearning C++ stuff, building the utility functions of the ray tracer, getting familiar with Eclipse. And this is what the image (with the scene being a small sphere on top of a larger sphere) I had so far looked like:
Today was when things finally started to get interesting: anti-aliasing and diffusion!
Anti-aliasing
When I first started this project, I watched a short clip of this lecture video to help me understand the relationships among the camera, the screen and the scene. It described the setup as “for every pixel on this screen, you run a ray through that pixel – a straight line into your scene.”
for (int j = image_height-1; j >= 0; --j) {
    std::cerr << "\rScanlines remaining: " << j << ' ' << std::flush;
    for (int i = 0; i < image_width; ++i) {
        auto u = double(i) / (image_width-1);
        auto v = double(j) / (image_height-1);
        ray r(origin, lower_left_corner + u*horizontal + v*vertical);
        color pixel_color = ray_color(r, world);
        write_color(std::cout, pixel_color);
    }
}
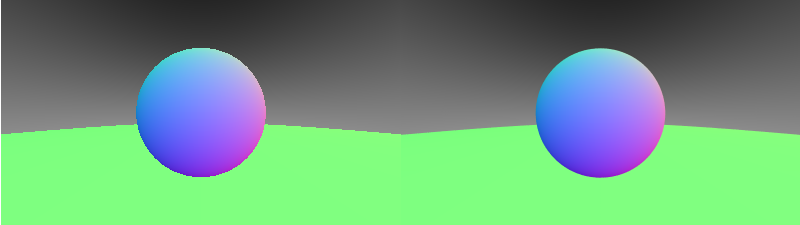
It took me a while to realize that, in our code, up until this point, we have specifically picked the bottom-left point of each pixel as the point each ray passes through. The image looks very rough, in part because the ray at the bottom left corner of each pixel dictates the color of the entire pixel. But the pixel is not a single point – it’s a tiny square with width 1 and height 1. There are infinite number of points inside this 1 * 1 square that a ray can pass through. Anti-aliasing does just this: by sending a lot of rays through different points in a pixel and taking an aggregate function (the mean for now), it blends the color we get from the object and the background for each pixel, making the image more smooth.
Here’s a side-by-side comparison. The image on the left is what we had before, the one on the right is generated by passing 100 rays in each pixel and taking the mean of their colors:
Diffusion
The tutorial started with a simple Lambertian diffusion material as the surface of the two spheres. I experimented with the amount of rays we sample on each pixel, and it really does seem to reduce noise by quite a bit:
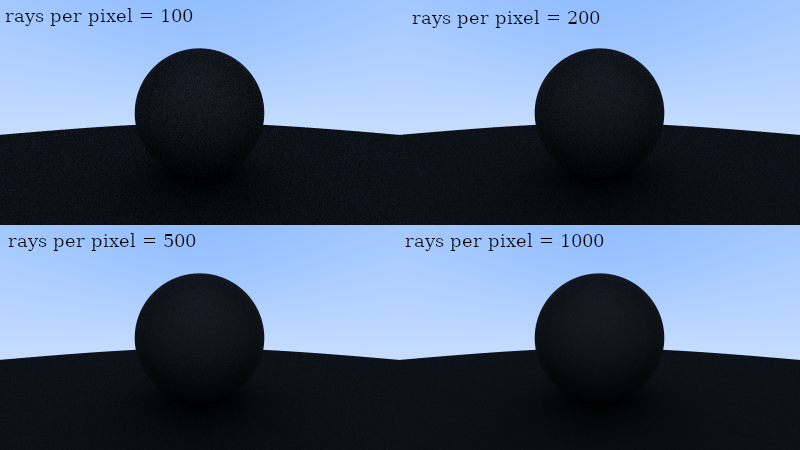
I noticed that the amount of time it took to generate the images increased significantly as I increased the sample size for each pixel. I’m starting to understand why I often hear the term “graphics” associated with special hardware.
Day 14, November 23, 2020
I finished the Ray Tracer project!